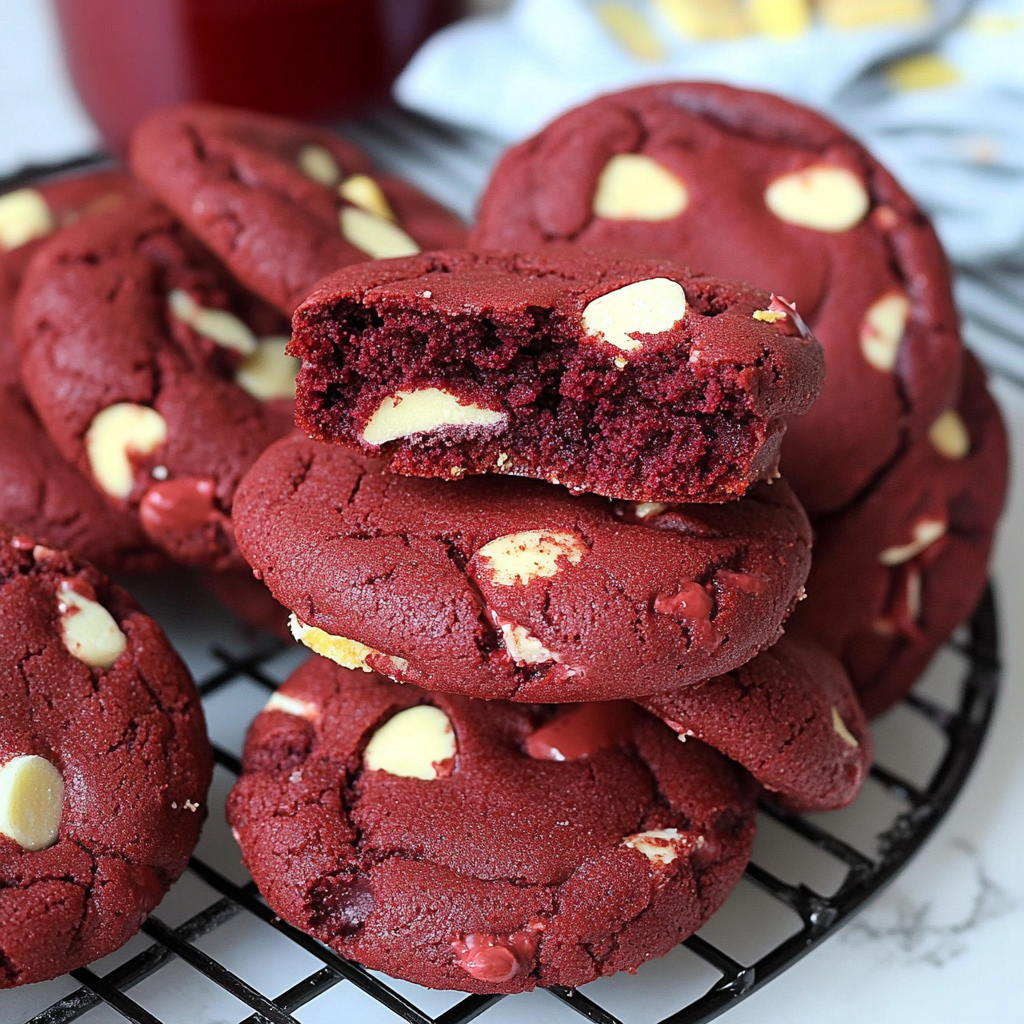
Red Velvet Cookies are the magical treat that can turn any mundane day into a vibrant celebration. Imagine biting into a soft, chewy cookie that is rich in cocoa, with a velvety texture and a hint of tangy cream cheese frosting melting in your mouth. The aroma wafts through the air, teasing your senses and making you feel all warm and fuzzy inside.
These cookies are not just for special occasions; they are perfect for cozy family evenings or casual get-togethers with friends. Every time I bake Red Velvet Cookies, I’m transported back to childhood kitchen escapades where flour dusted our clothes, and laughter filled the air. You can’t help but anticipate that first bite—the delightful balance of sweetness and slight tartness that makes these cookies truly unforgettable.
[info_box title=”Why You’ll Love This Recipe”] These Red Velvet Cookies are easy to make, perfect for any occasion. Their stunning appearance will impress everyone at your gathering. Enjoy their rich flavor profile with a subtle cocoa essence. Great for cookie swaps or as a fun dessert treat! [/info_box]
I remember the first time I made these cookies; my friends devoured them in minutes and begged for the recipe!
Essential Ingredients
Here’s what you’ll need to make this delicious dish:
-
All-Purpose Flour: Use quality flour to ensure your cookies have the right structure and chewiness.
-
Cocoa Powder: Opt for unsweetened cocoa powder for that deep chocolate flavor without added sugars.
-
Granulated Sugar: This sweetener gives your cookies their delightful sweetness; feel free to adjust based on your preference.
-
Brown Sugar: Using brown sugar adds moisture and richness to the cookies’ texture.
-
Baking Soda: Essential for helping the cookies rise perfectly while keeping them soft.
-
Salt: Just a pinch enhances all the flavors; don’t skip it!
-
Eggs: Eggs bind everything together while adding moisture—always use large eggs for consistency.
-
Vegetable Oil: This keeps your cookies moist; you can also use melted butter if you prefer.
-
Red Food Coloring: A must-have to achieve that iconic red hue—don’t be shy!
-
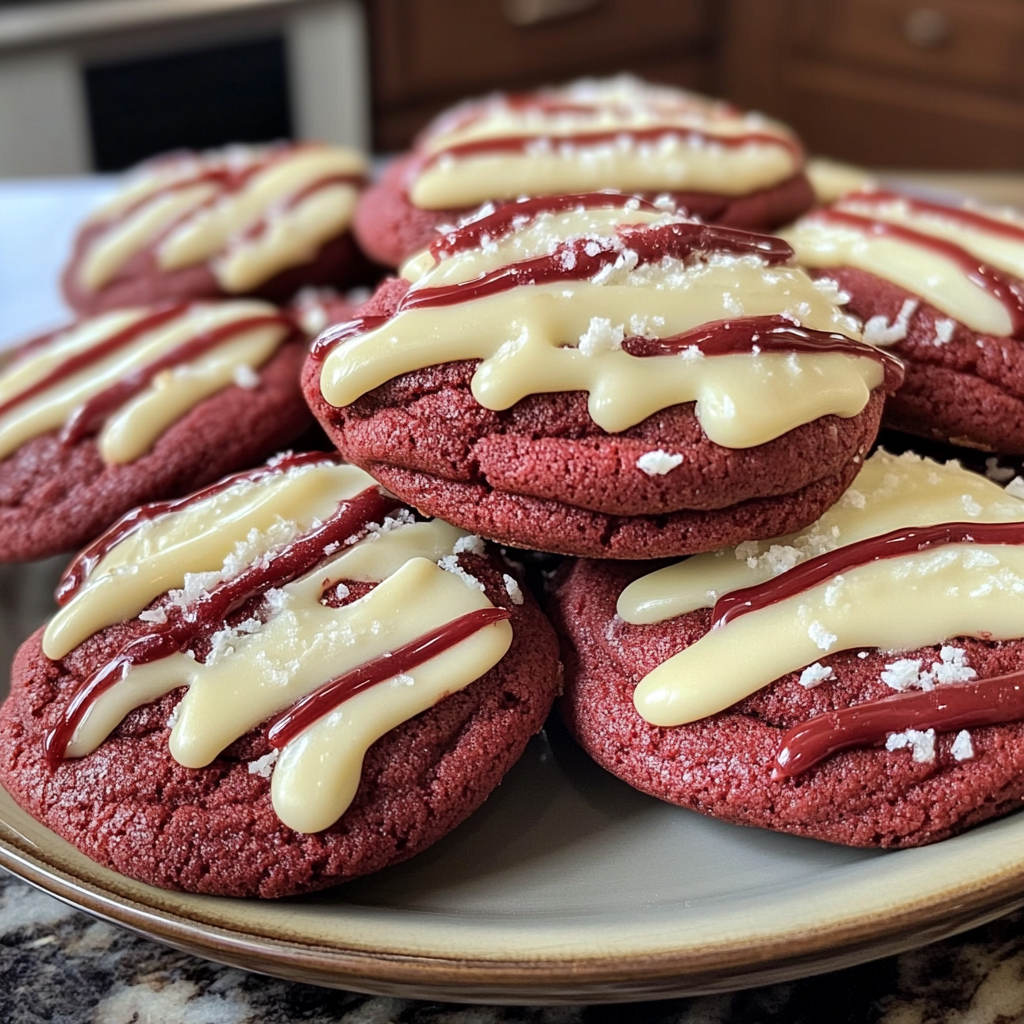
Cream Cheese Frosting (optional): Adds an irresistible layer of tangy sweetness on top of each cookie.
The full ingredients list, including measurements, is provided in the recipe card directly below.
Let’s Make it Together
Preheat Your Oven: Begin by preheating your oven to 350°F (175°C). Line baking sheets with parchment paper to ensure easy cleanup later.
Mix Dry Ingredients Together: In a bowl, whisk together flour, cocoa powder, baking soda, and salt until evenly combined—this step prevents clumps from forming.
Cream Sugars and Oil: In another bowl, mix granulated sugar, brown sugar, and vegetable oil until smooth. This creates a lovely base with great texture!
Add Eggs and Food Coloring: Beat in one egg at a time along with vanilla extract and food coloring. Stir until everything is beautifully blended into a luscious batter.
Combine Wet and Dry Ingredients : Gradually fold the dry mixture into the wet mix using a spatula. Be careful not to overmix; stop when you see no flour streaks!
Scoop and Bake Cookies : Using a spoon or cookie scoop, drop rounded tablespoons onto prepared baking sheets. Bake for 10-12 minutes or until edges look set but centers remain slightly soft.
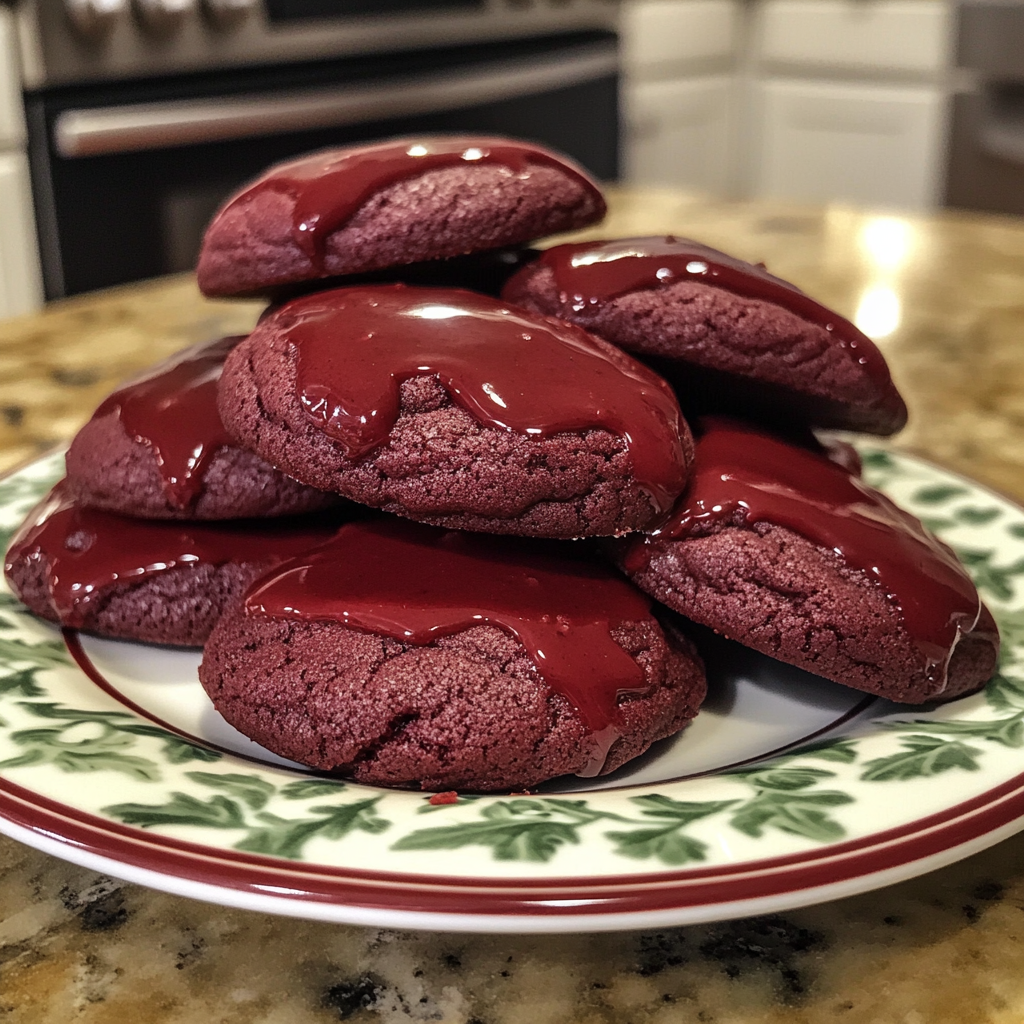
After pulling them from the oven, let those beautiful Red Velvet Cookies cool on the baking sheet for about 5 minutes before transferring them to wire racks. If you’re feeling fancy (and who wouldn’t?), drizzle some cream cheese frosting over these beauties once cooled. Trust me – your taste buds will thank you!
Enjoy every delightful morsel of these vibrant Red Velvet Cookies! They’re sure to create sweet memories just like they did for me every time I share them with loved ones.
[info_box title=”You Must Know”] Red Velvet Cookies are not just visually stunning; they also deliver a delightful chocolate flavor. The cream cheese frosting adds a tangy twist, making them irresistible. Perfect for gatherings or a cozy night in, these cookies bring joy and color to any occasion. [/info_box]
Perfecting the Cooking Process
Start by preheating your oven and preparing your cookie sheets. Cream the butter and sugar before adding eggs and dry ingredients for an even mix. This sequence ensures even baking and the perfect texture.
Add Your Touch
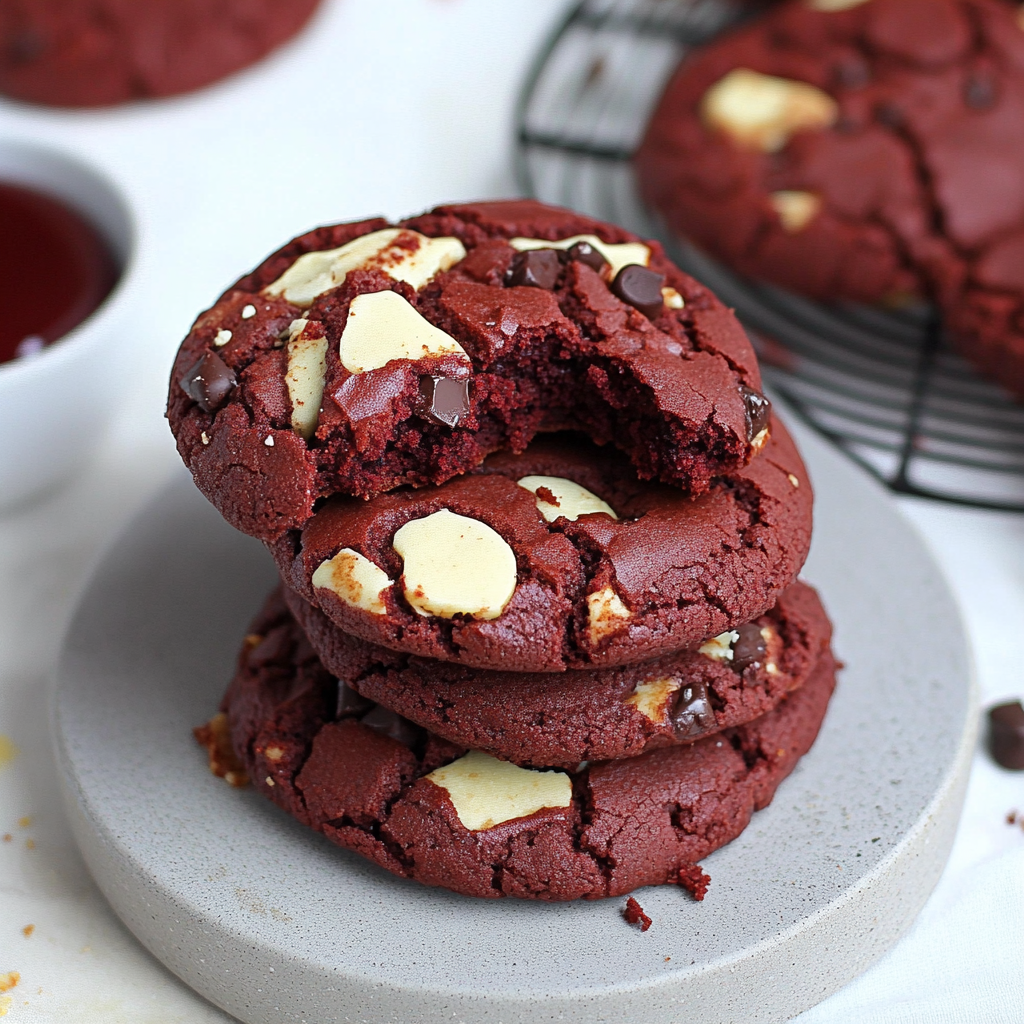
Feel free to experiment with different mix-ins like white chocolate chips or nuts. For an extra kick, a splash of vanilla extract can elevate the flavor profile, making your cookies truly unique.
Storing & Reheating
Store your Red Velvet Cookies in an airtight container at room temperature for up to five days. To enjoy them warm, pop them in the microwave for just a few seconds—like hugging a warm blanket on a chilly day.
[info_box title=”Chef’s Helpful Tips”] Use fresh baking soda for optimal rise and chewy texture. Don’t overmix once you combine wet and dry ingredients to avoid tough cookies. Allow cookies to cool completely before frosting for best results, ensuring that frosting doesn’t melt away. [/info_box]
Making these cookies reminds me of my best friend’s birthday party, where they vanished within minutes! The laughter and joy shared over those treats made it unforgettable.
FAQ
What makes Red Velvet Cookies different from regular chocolate cookies?
Red Velvet Cookies feature cocoa powder and a vibrant red color, creating visual appeal and unique flavor.
Can I make these cookies gluten-free?
Yes! Substitute all-purpose flour with a gluten-free blend for delightful results without compromising flavor.
How do I achieve the perfect frosting consistency?
Beat cream cheese and butter until smooth; add powdered sugar gradually for fluffy frosting without lumps.